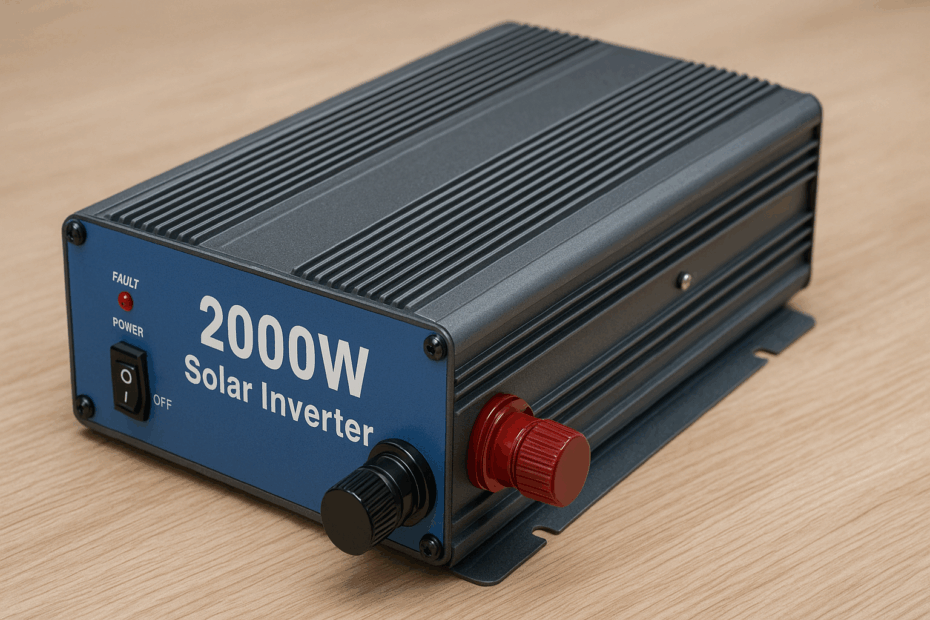
A solar inverter is the beating heart of any off-grid power system. Whether you’re running a remote cabin, living in your RV, operating a work truck, or cruising on a boat, the inverter is what turns your stored battery power into usable electricity. Without it, the power from your solar panels or batteries would remain in direct current (DC) form, which most household appliances and tools cannot use.
You have finally selected and purchased your inverter. Setting it up correctly is one of the most important steps you’ll take. Do it right, and you’ll enjoy years of reliable, safe, and efficient off-grid energy. Do it wrong, and you risk poor performance, safety hazards, or even damaging your expensive equipment.
This guide will walk you through everything: how to inspect your inverter when it arrives, where and how to mount it, how to connect it safely with the right skill set, and which accessories are worth investing in. We’ll also explore differences between installing in a cabin versus mobile environments like RVs, trucks, and boats, so you’ll generally know adjustments to make depending on your setup.
Table of contents
Why the Inverter Matters
Before diving into setup, it’s important to understand why the inverter is so critical:
- Conversion of power: Without it, the electricity from your panels can’t be used by standard household devices.
- System monitoring: Most inverters also act as data centers, letting you monitor solar production.
- Safety controls: Inverters manage grid connection, shut down during faults, and protect your system.
Because of its central role, you’ll want to treat installation with care.
Step 1: Inspecting Your Solar Inverter on Delivery
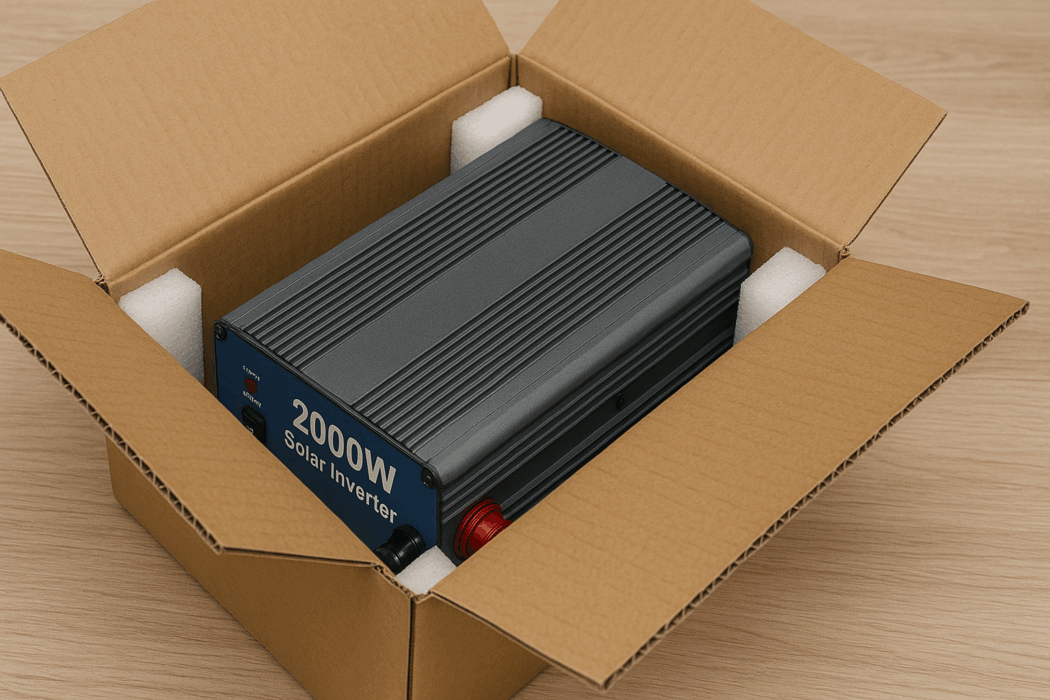
When your inverter first arrives, it can be tempting to bolt it to the wall or wire it up right away. Resist that urge. Your first responsibility is inspection. Shipping can be rough on delicate electronics, and catching problems early will save headaches later.
- Check the box and packaging. Look for dents, crushed corners, water stains, or tears that might suggest rough handling. Note any visible issues with the delivery company before signing off.
- Examine the inverter’s exterior. Once unboxed, inspect the case carefully. Look for dents, scratches, bent fins, or cracked plastic. Pay close attention to cooling vents and fans.
- Shake test. Gently rock the inverter back and forth. If you hear rattling, a component may have broken loose during shipping. That’s a red flag—contact the seller before installation.
- Verify included accessories. Check the manual for what should be included: brackets, screws, fuses, remote display panels, or Wi-Fi dongles. Missing parts can delay installation.
- Confirm the model and serial number. Double-check you received the inverter you ordered and record the serial number for warranty purposes.
This inspection step is quick but crucial. Installing a damaged unit could void the warranty or cause dangerous failures.
Step 2: Choosing the Right Location for Your Inverter
Where you place your inverter has a huge impact on performance and lifespan. Inverters generate heat, are sensitive to dust and moisture, and need proper airflow. Let’s break this down by use case.
Off-Grid Cabins
- Indoors is best. Mount your inverter inside, away from sunlight and moisture. Utility rooms, basements, or dedicated energy closets work well.
- Ventilation matters. These units generate heat. Ensure at least 12–18 inches of clearance around the sides for airflow.
- Proximity to batteries. The closer the inverter is to your battery bank, the shorter your DC cable runs will be, reducing power loss.
RVs and Trucks
- Use storage bays or under-seat compartments. Many RVers mount inverters in under-bed compartments or basement storage bays.
- Secure against vibration. Vehicles move, and so do inverters if not properly mounted. Always mount to a solid backing board or wall.
- Keep away from fuel. Never mount near propane tanks, fuel lines, or flammable surfaces.
Boats
- Stay above the bilge. Moisture and saltwater are your enemies. Install the inverter in a dry locker well above the bilge.
- Corrosion protection. Use marine-grade stainless steel fasteners, anti-corrosion sprays, and dielectric grease on terminals.
- Ventilation. Boats tend to have tight compartments. Ensure there’s adequate airflow to prevent overheating.
General Rules for All Installs
- Mount on a non-flammable surface like plywood, concrete, or metal.
- Position the inverter at eye level if possible for easy monitoring.
- Avoid bedrooms or living spaces if the inverter hums when running.
Step 3: Setting Up and Installing the Inverter

Once your inverter is inspected and mounted, it’s time to connect it. While every inverter brand has its own wiring diagram, the principles are the same.
⚠️ Important: If you are not comfortable working with electricity, hire a professional. Mistakes with high-current DC wiring can be dangerous.
Common Principles
- Always disconnect power before wiring.
- Use the correct wire gauge for your inverter’s wattage and voltage. Longer runs require thicker wire.
- Install proper fuses and breakers.
- Ground everything properly according to local codes.
Off-Grid Cabin Wiring
- Connect your inverter to the battery bank with heavy gauge cables.
- Install a DC disconnect switch between the battery and inverter for safety.
- Wire the inverter’s AC output to your cabin’s breaker panel.
- Add an AC disconnect between the inverter and the panel if required by code.
RV and Truck Wiring
- Keep DC cable runs as short as possible.
- Install a Class-T fuse within 12 inches of the battery’s positive terminal.
- Use bus bars if connecting multiple batteries to simplify wiring.
- Add a transfer switch if you plan to switch between inverter power and shore power or a generator.
Boat Wiring
- Use only marine-grade tinned copper wire to resist corrosion.
- Protect all connections with dielectric grease.
- Secure cables to prevent chafing from vibration or hull movement.
- Seal any holes where cables pass through bulkheads to keep water out.
First Power-Up Sequence
- Confirm all fuses, breakers, and disconnects are installed.
- Connect inverter leads to the battery bank.
- Power on the inverter and watch the startup sequence.
- Test with a small load first (like a light or fan).
- Once successful, test with larger appliances.
Step 4: Accessories to Consider
Your inverter can run without extras, but certain accessories improve safety, monitoring, and convenience.
| Accessory | Cabin Use | RV/Truck Use | Boat Use | Why It Helps |
|---|---|---|---|---|
| DC Disconnect Switch | ✓ | ✓ | ✓ | Quick shutoff in emergencies. |
| AC Disconnect | ✓ | Optional | Optional | Code compliance in cabins. |
| Class-T Fuse | ✓ | ✓ | ✓ | Protects against catastrophic short circuits. |
| Battery Monitor (shunt-based) | ✓ | ✓ | ✓ | Tracks real-time battery health and usage. |
| Transfer Switch | ✓ | ✓ | ✓ | Switch between inverter, generator, or shore power. |
| Remote On/Off Panel | ✓ | ✓ | ✓ | Mount inverter out of sight but control it easily. |
| Surge Protector | ✓ | ✓ | ✓ | Protects sensitive electronics from spikes. |
| Cooling/Enclosure | ✓ | ✓ | ✓ | Keeps inverter cool in tight spaces. |
| Bus Bars | ✓ | ✓ | ✓ | Organizes multiple battery connections. |
| Solar Charge Controller | ✓ | Optional | Optional | Needed if panels charge batteries directly. |
Checkmarks indicate recommended use by context.
Step 5: Maintenance & Safety
Installing your inverter is just the beginning. Proper maintenance ensures long-term reliability.
Cabins
- Clean dust every 3 months.
- Check fans for obstruction.
- Have a professional inspection once a year.
RVs and Trucks
- Inspect inverter mounting before each long trip.
- Watch for wire insulation damage from vibration.
- Check fuses and breakers quarterly.
Boats
- Inspect terminals monthly for corrosion.
- Apply anti-corrosion sprays to terminals.
- Rinse components with fresh water if exposed to salt spray.
General Safety
- Don’t overload the inverter. Respect both continuous and surge ratings.
- Switch off the inverter when not in use to reduce idle battery drain.
- Keep an ABC-rated fire extinguisher nearby for electrical fires.
Step 6: Troubleshooting
Even well-installed systems occasionally have hiccups.
- Inverter won’t power on: Check battery voltage, DC fuse, and all cable connections.
- Unit overheats and shuts down: Improve ventilation or reduce load.
- Shuts off on bumps (RVs/boats): Reinforce wiring and use vibration dampeners.
- Low power output: Check for corroded terminals, loose wires, or failing batteries.
- Frequent low-voltage errors: Battery bank may be undersized for your loads.
Real-World Examples
- Cabin Setup: A couple in Alaska uses a 3,000W pure sine inverter with a 48V battery bank. Their inverter is mounted in a utility shed with cooling fans and a remote display inside the cabin.
- RV Setup: A full-time RVer runs a 2,000W inverter with a 400Ah lithium battery bank. The inverter sits in a basement storage bay, tied into a transfer switch for seamless switching between shore power and solar.
- Truck Setup: A work truck powering tools uses a 1,500W inverter with a Class-T fuse and battery monitor. Everything is bolted to a steel mounting plate behind the cab.
- Boat Setup: A sailboat runs a 2,500W inverter with marine-grade wiring and dielectric grease to fight corrosion. It powers refrigeration and navigation electronics while offshore.
Conclusion
No matter where you’re living off-grid—whether it’s in a quiet cabin, a road-traveling RV, a hardworking truck, or a seaworthy boat—your inverter is the key to unlocking usable power.
By taking the time to:
- Inspect your inverter when it arrives
- Mount it in a safe, well-ventilated location
- Wire it properly with correct fuses and disconnects
- Add helpful accessories for safety and convenience
- Maintain it regularly
…you’ll have a system that runs smoothly and keeps your lights, appliances, and tools powered when you need them most.
A properly installed inverter isn’t just equipment—it’s peace of mind, independence, and the freedom to live and work anywhere without relying on the grid.